
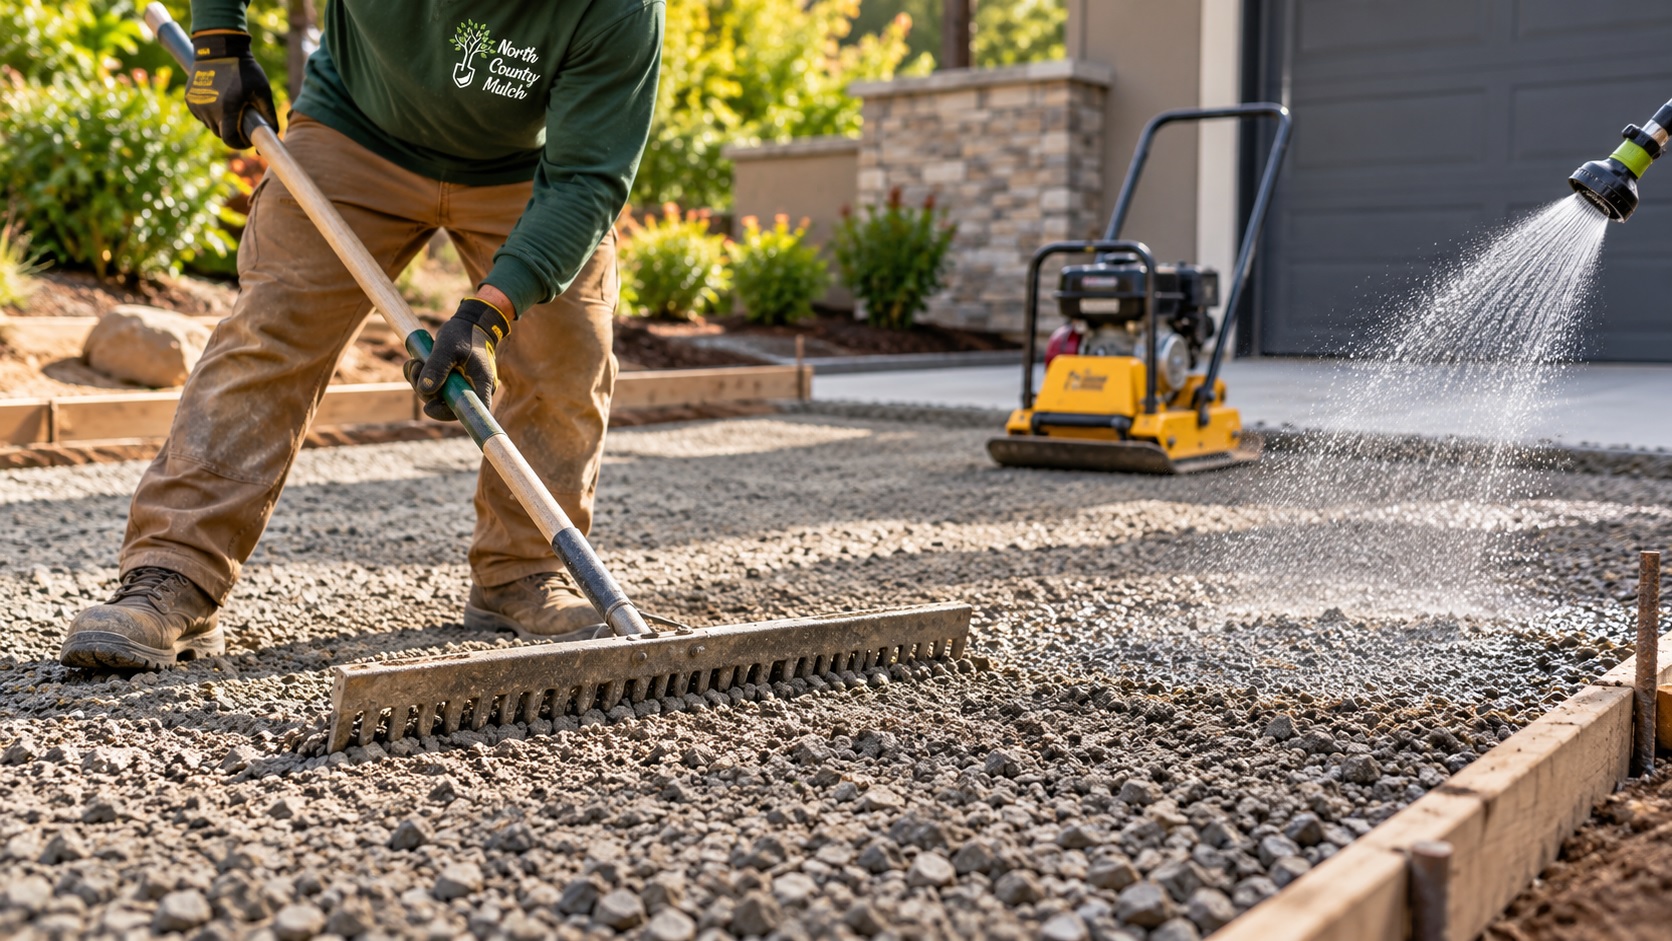
To compact Class 2 base correctly, prepare and compact the subgrade, spread aggregate in thin lifts, add enough moisture to support compaction, and make overlapping passes with a vibratory plate compactor or roller. For smaller projects, approximately 2 to 4 inches of loose material per lift is a practical starting point, depending on equipment capacity. Caltrans aggregate base specifications require at least 95% relative compaction for applicable projects. A properly compacted foundation helps prevent settling, rutting, and shifting pavers.
Why Proper Class 2 Base Compaction Matters
Whether you’re building a driveway, installing pavers, or preparing a patio, the foundation determines how well the finished surface performs.
At North County Mulch, we supply Class 2 base for residential and commercial projects throughout San Diego County.
Class 2 base combines crushed aggregate and fine particles that interlock under pressure. However, simply spreading material across the ground does not create a stable foundation.
Without proper compaction, trapped air pockets and loose aggregate can cause uneven settling, cracks, and surface movement.
Learning how to compact Class 2 base correctly helps protect the entire project.
What Equipment Do You Need to Compact Aggregate Base?
Choosing equipment depends on the project size, material depth, and required density.
| Equipment | Best Application |
|---|---|
| Vibratory plate compactor | Patios, walkways, and small driveways |
| Reversible plate compactor | Thicker lifts and larger hardscape areas |
| Vibratory roller | Roads, parking lots, and larger projects |
| Hand tamper | Tight corners and minor edge work |
| Water hose or sprayer | Controlling aggregate moisture |
| Rake and straightedge | Spreading material and checking grade |
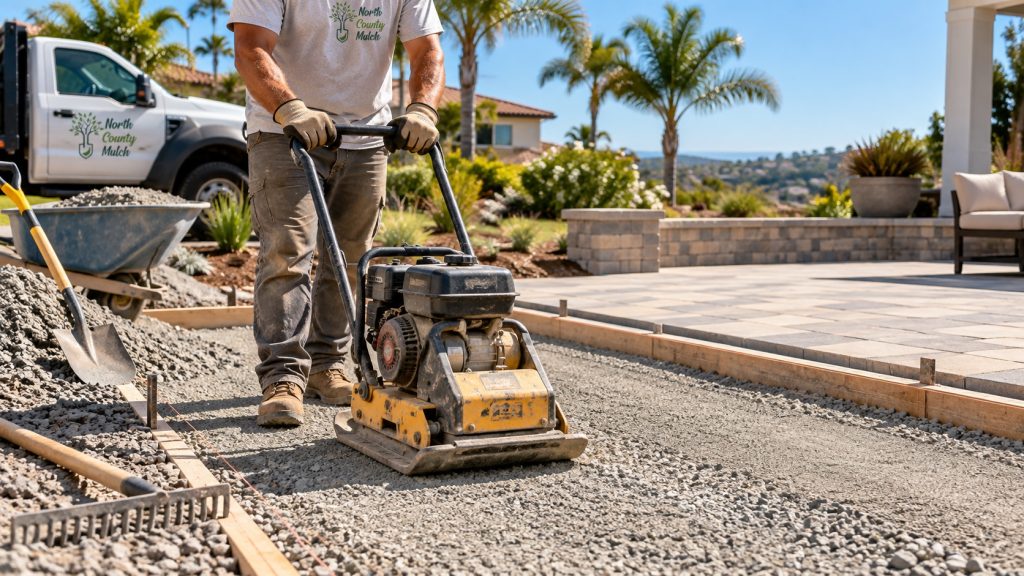
For most residential patios and walkways, a properly sized plate compactor provides an effective way to compact aggregate base.
Larger construction projects may require heavier equipment and verified density testing.
How to Compact Class 2 Base Correctly
Step 1: Excavate and Prepare the Subgrade
Start by removing grass, roots, organic material, and unsuitable soil.
Grade the area to the required elevation and establish drainage slopes before placing aggregate.
Compact the native soil and repair soft spots.
If the ground shifts or pumps under compaction equipment, adding more base material without correcting the underlying problem may lead to future settlement.
Step 2: Spread Class 2 Base in Thin Layers
One common mistake is placing the entire base depth in a single thick layer.
Instead, spread the aggregate evenly in manageable lifts.
For smaller plate compactors, approximately 2 to 4 inches of loose base per lift is a reasonable starting range. Always follow the equipment manufacturer’s depth recommendations.
For example, a patio requiring 6 inches of compacted base may need multiple lifts.
Remember that loose material becomes thinner after compaction. Measure the final compacted thickness rather than relying on the initial loose depth.
Explore our Class 2 base products for compactable aggregate suitable for patios, walkways, driveways, and construction projects.
Step 3: Add the Right Amount of Moisture
Moisture plays an important role in aggregate compaction.
Material that is too dry may resist densification. Excessively wet material can become unstable and difficult to compact.
We recommend lightly watering the aggregate while distributing moisture evenly throughout the lift.
The goal is damp material that compacts firmly without producing muddy areas or standing water.
For specification-driven projects, laboratory testing determines the optimum moisture content rather than relying on appearance alone.
Step 4: Compact With Overlapping Passes
Place the plate compactor on the prepared aggregate and operate it according to the manufacturer’s instructions.
Work systematically across the surface.
A practical approach includes:
- Start along one edge of the prepared area.
- Move steadily across the aggregate.
- Overlap adjacent passes to avoid missed strips.
- Repeat passes until the surface becomes firm and uniform.
- Check low spots, edges, and areas near structures.
Avoid assuming a fixed number of passes guarantees proper density.
Material moisture, lift thickness, equipment force, and aggregate characteristics all affect the results.
Step 5: Check the Base Compaction Percentage
For projects requiring verified density, visual inspection alone is insufficient.
The base compaction percentage compares the field dry density with the material’s laboratory-determined maximum dry density.
Relative Compaction (%) = Field Dry Density ÷ Maximum Dry Density × 100
For example, a relative compaction result of 95% means the field dry density has reached 95% of the reference maximum dry density. It does not mean the aggregate has shrunk by 95%.
According to Caltrans Section 26 aggregate base specifications, applicable aggregate base layers must achieve at least 95% relative compaction.
Private residential projects may have different requirements. Always follow the project specifications and applicable local standards.
Step 6: Verify Grade and Final Thickness
Once compacted, inspect the surface for:
- Uneven settlement or soft areas
- Loose or segregated aggregate
- Incorrect finished elevations
- Low spots that collect water
- Insufficient compacted base thickness
Correct deficiencies before installing pavers, asphalt, or concrete.
Common Class 2 Base Compaction Mistakes
Even quality base material can perform poorly when installed incorrectly.
The most common mistakes include:
- Compacting thick lifts: Leaves loose material beneath the surface.
- Skipping subgrade preparation: Allows the foundation to settle.
- Using insufficient moisture: Reduces compaction efficiency.
- Adding excessive water: Creates instability and pumping.
- Using undersized equipment: May prevent the required density from being achieved.
- Ignoring drainage: Allows water to weaken the pavement foundation.
For related material selection and construction guidance, read our Class 2 Base, Gravel & Sand Guide for Fire Pit Patios and Retaining Walls.
Frequently Asked Questions
How many inches of Class 2 base can you compact at once?
For smaller plate compactors, 2 to 4 inches of loose aggregate per lift is a practical starting range. Actual allowable thickness depends on the equipment and project specifications.
Does Class 2 base need water before compacting?
Yes, appropriate moisture generally improves compaction. Avoid completely dry or saturated conditions.
What percentage should Class 2 base be compacted to?
Caltrans Section 26 specifies at least 95% relative compaction for applicable aggregate base construction. Other projects must follow their own specifications.
Can you compact Class 2 base with a hand tamper?
A hand tamper may work for small corners and minor repairs, but a mechanical compactor is generally better for larger areas and projects requiring verified density.
Get Quality Class 2 Base Delivered by North County Mulch
Successful hardscape construction starts with properly prepared and compacted aggregate.
At North County Mulch, we supply quality recycled Class 2 base for contractors, landscapers, and homeowners throughout Escondido, Carlsbad, Oceanside, Poway, and surrounding San Diego County communities.
Our landscape material delivery services make it easier to get the right quantity of aggregate directly to your project.
Ready to build a stronger foundation? Order now!