
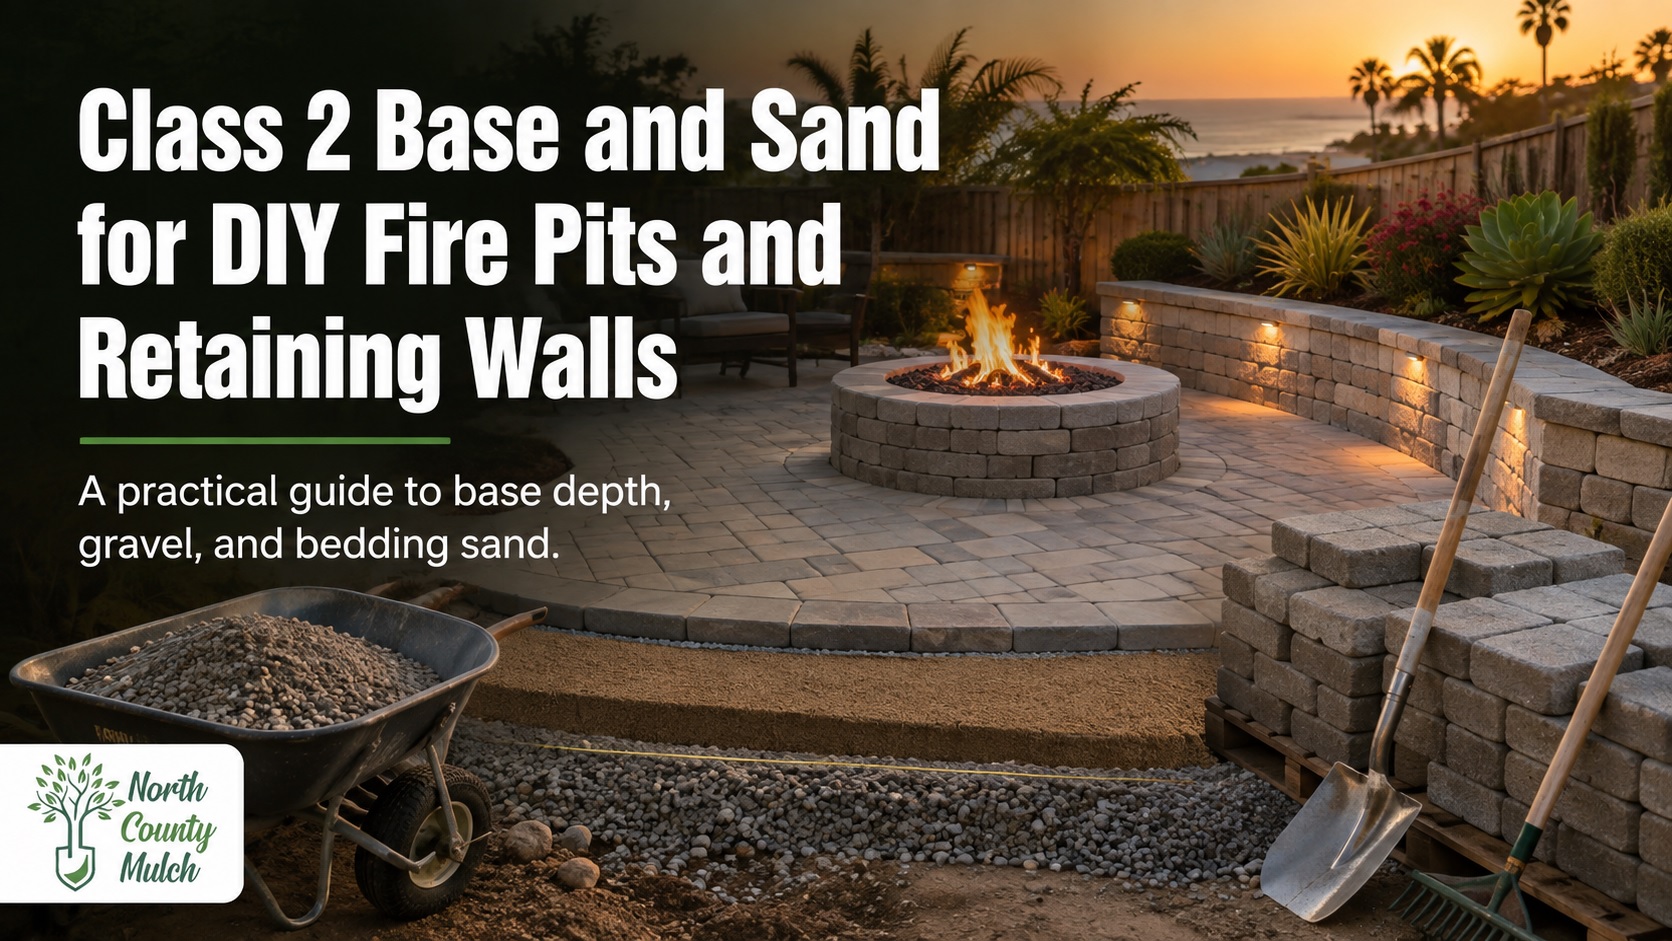
For most DIY hardscape projects, a compacted aggregate base provides the structural foundation while bedding sand creates the thin leveling layer needed beneath pavers or blocks. At North County Mulch, we recommend Class 2 base for load-bearing foundations, crushed stone or gravel where drainage is needed, and bedding sand only as the final leveling course. A typical pedestrian fire pit patio may use about 4 to 6 inches of compacted base plus roughly 1 inch of bedding sand. Retaining wall requirements vary by block system and wall height, so manufacturer specifications should always control the final design. Caltrans recognizes Class 2 aggregate base as an engineered pavement-base material with defined gradation and quality requirements.
For San Diego homeowners searching for Class 2 base rock near me, getting the layers right matters just as much as choosing attractive pavers or wall blocks.
Class 2 Base vs. Crushed Granite vs. Bedding Sand
Each material performs a different job.
Class 2 Base
Class 2 base combines crushed aggregate with fines that lock together under compaction. This makes it suitable beneath patios, walkways, driveways, and other hardscapes where settling needs to be controlled.
Our Class 2 Base is designed for compactable foundations and can be delivered throughout San Diego County. North County Mulch notes that about one cubic yard covers approximately 100 square feet at a 3-inch depth.
Crushed Granite and Crushed Stone
Crushed granite can work well for pathways, informal patio areas, borders, and landscape surfaces. Crushed stone is also useful where a strong aggregate or drainage layer is required.
Unlike rounded river rock, angular crushed material tends to interlock when compacted.
Bedding Sand
Sand should normally be the thin leveling course rather than the main structural foundation beneath pavers.
Our sand products include washed sand and aggregate blends for landscaping and construction applications.
How to Build a Gravel Fire Pit Patio
Learning how to build a gravel fire pit patio starts below the finished surface.
Step 1: Mark the Patio
Lay out the fire pit and surrounding seating area with marking paint or stakes.
Allow enough room between the fire feature and seating, structures, fences, plants, or combustible materials. Follow the fire pit manufacturer’s clearance requirements and local fire regulations.
Step 2: Excavate
Remove grass, roots, loose soil, and organic material.
For a paver patio using:
- 4 inches compacted base
- 1 inch bedding sand
- 2 to 3 inch pavers
excavation may total roughly 7 to 8 inches, depending on the selected materials.
Always account for the desired finished elevation.
Step 3: Compact the Subgrade
Do not place aggregate over loose soil.
Grade the soil, correct soft areas, and compact the subgrade before adding base material.
This step helps reduce future dips and uneven pavers.
Step 4: Add Class 2 Base
For many pedestrian patios, we commonly plan around 4 to 6 inches of compacted aggregate base.
Install thicker bases in multiple lifts rather than dumping the entire depth at once. Light moisture can help certain base materials compact more effectively.
Run a plate compactor over each lift until the surface becomes dense and uniform.
Step 5: Add Bedding Sand
After the base is compacted and graded, add roughly 1 inch of bedding sand for pavers.
Screed the sand smooth without creating an unnecessarily thick layer.
Step 6: Install the Fire Pit and Surface
Install pavers according to the paver manufacturer’s instructions.
For the actual fire chamber, use a product or insert specifically rated for fire exposure. Standard decorative landscape blocks should never automatically be assumed safe for direct flame.
How Much Base Rock Do You Need?
Use this simple formula:
Square Feet × Depth in Inches ÷ 324 = Cubic Yards
For example, consider a 15 × 20-foot patio.
Area:
15 × 20 = 300 square feet
Base at 4 inches:
300 × 4 ÷ 324 = 3.70 cubic yards
Adding about 10% for compaction, grading, and minor waste brings the order closer to:
4.1 cubic yards
At 6 inches:
300 × 6 ÷ 324 = 5.56 cubic yards
With 10% extra:
About 6.1 cubic yards
Actual quantities can vary because aggregate compacts after placement.
Retaining Wall Gravel Base Depth
The proper retaining wall gravel base depth depends on wall height, soil conditions, drainage, and the block manufacturer’s installation requirements.
For smaller segmental retaining walls, common manufacturer specifications may call for around 4 inches of compacted granular base for walls under 4 feet, while taller or engineered walls can require 6 inches or more. Allan Block specifications, for example, call for a minimum 4-inch base below walls under 4 feet and 6 inches for walls over 4 feet.
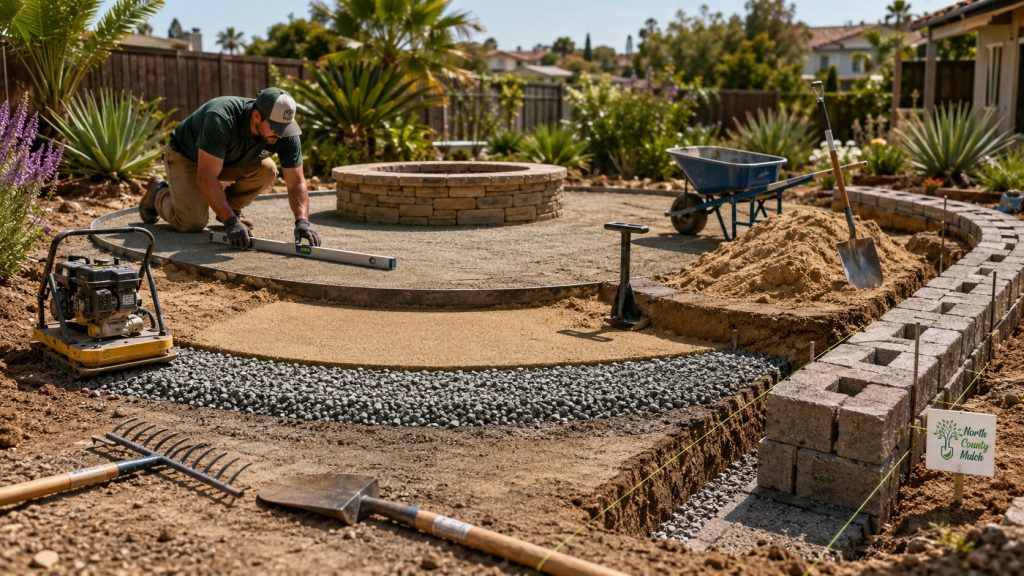
A retaining wall installation generally follows this order:
- Excavate the trench.
- Remove soft or organic soil.
- Compact the subgrade.
- Place compactable aggregate.
- Compact the base.
- Check level from front to back and end to end.
- Install the first block course.
- Add suitable drainage aggregate behind the wall as construction continues.
Never assume the base layer alone solves drainage problems. Taller walls, slopes, surcharge loads, poor soils, or water pressure may require drainage pipe, geogrid, engineering, or permits.
Don’t Confuse Base Material With Drainage Rock
Class 2 base is excellent when compaction is the goal because its mixture of larger aggregate and fines creates a dense surface.
Drainage zones are different.
Behind many retaining walls, clean angular stone is preferred because water needs open voids through which to move. Dense base material and clean drainage gravel therefore perform separate jobs.
Using the correct product in each layer can prevent settlement while also reducing water pressure behind the wall.
Common DIY Base Installation Mistakes
Most failures start below the visible surface.
Watch for:
- Installing pavers directly over native soil
- Using several inches of loose sand as the structural base
- Failing to compact each aggregate lift
- Installing base over roots or organic material
- Ordering exactly the calculated volume with no allowance for compaction
- Using rounded decorative gravel as a compacted structural base
- Ignoring drainage behind retaining walls
- Building a tall wall without checking engineering or permitting requirements
- Using decorative blocks directly against fire without confirming heat ratings
A weekend project can last for years when the foundation receives as much attention as the finish.
Get Class 2 Base, Sand and Gravel Delivered in San Diego County
When searching for Class 2 base rock near me, buying the right amount can save repeated supply runs and costly delivery delays.
At North County Mulch, we supply homeowners, landscapers, and contractors with bulk aggregate, sand, gravel, and base materials for patios, fire pit areas, retaining walls, walkways, and other hardscape projects throughout North County and the greater San Diego area.
Measure the project area, choose the required compacted depth, then calculate the cubic yards before ordering. Our team can also help confirm quantities when measurements are ready.